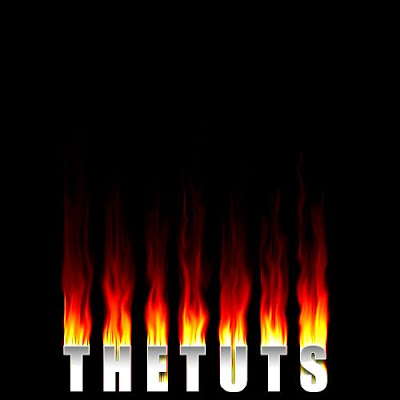
Step 1
Create a blank image and fill the background with black. Press D to
make photoshop back to default color. Press X on the keyboard (to
flip colors) and then select the Type Tool -- type whatever you want, press OK.
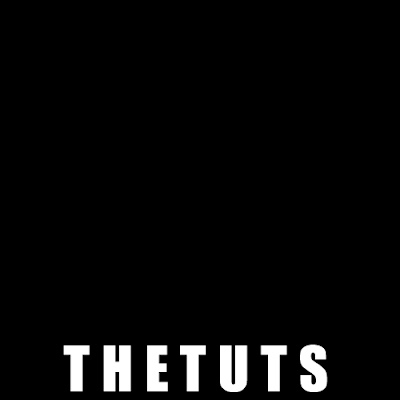
Step 2
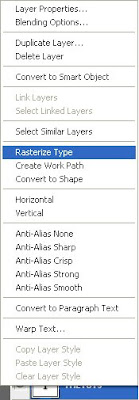
Next, right click at the text layer then press Resterize Type.
Rasterizing converts the type layer into a normal layer
and makes its contents uneditable as text.
Step 3
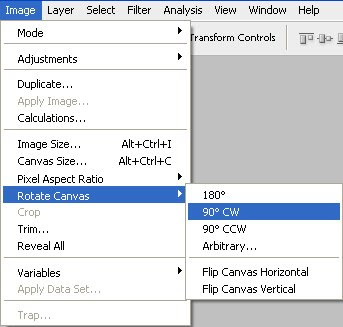
Since there isn't a "top or bottom" option in the wind dialog box, we will
turn the image itself around. Use Image > Rotate Canvas > 90 CCW.

Step 4
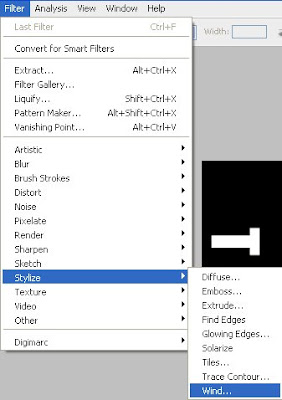
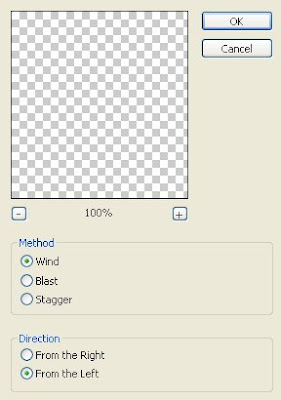
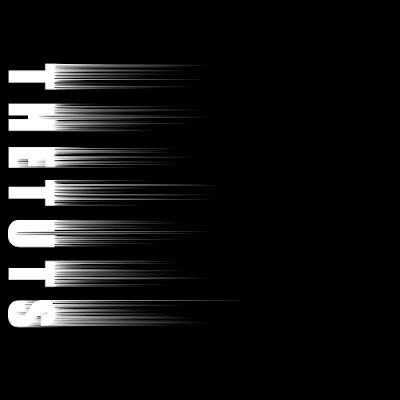
Next, use Filter > Stylize > Wind with the settings "Wind" and "from
the left". Press CTRL+F to apply the same filter over again a second
time.
Step 5
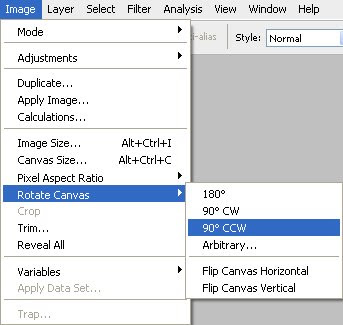
The next step is Image > Rotate Canvas > 90 CCW.
Step 6
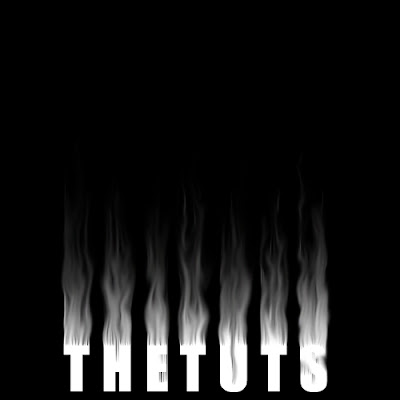
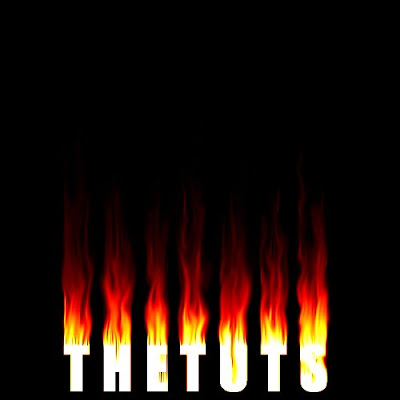
Now to add some shape to our fire! Using Smudge Tool, smudge your fire up and give it a little squiggle as you go. Do this until you get the proper shape. Also, ensure that the smudge strength is set to 75%. Take your time at this stage and you should eventually end up with
something that resembles my image.

Step 7
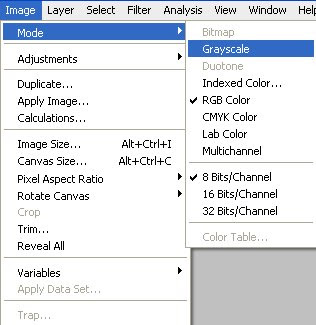
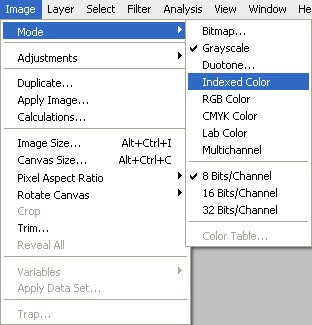
Convert the image to Grayscale by using Image > Mode > Grayscale and
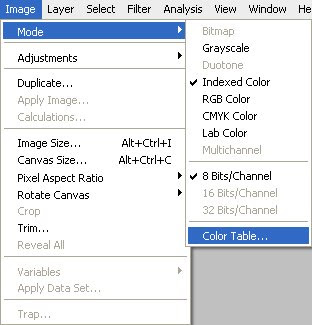
then to Image > Mode > Indexed Color. The next step is to give our image
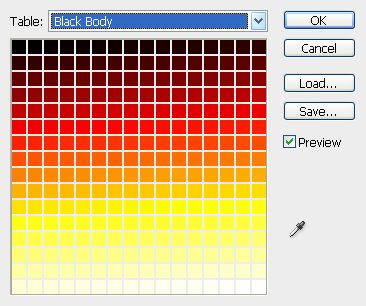
some color, so choose Image > Mode > Color Table. Since we're shooting
for a "fire effect" choose the Black Body table.
Final Step
Make our text a bit more legible. Choose the Text Tool & press D on
your keyboard. Use/type the same words you used earlier (use the same font size
and type) click OK, position the text in the middle and say "Wow!".

Thanks it's very easy tut to create fire effect...
ReplyDelete:-)
owh, thnks
ReplyDelete